rope conditioning…
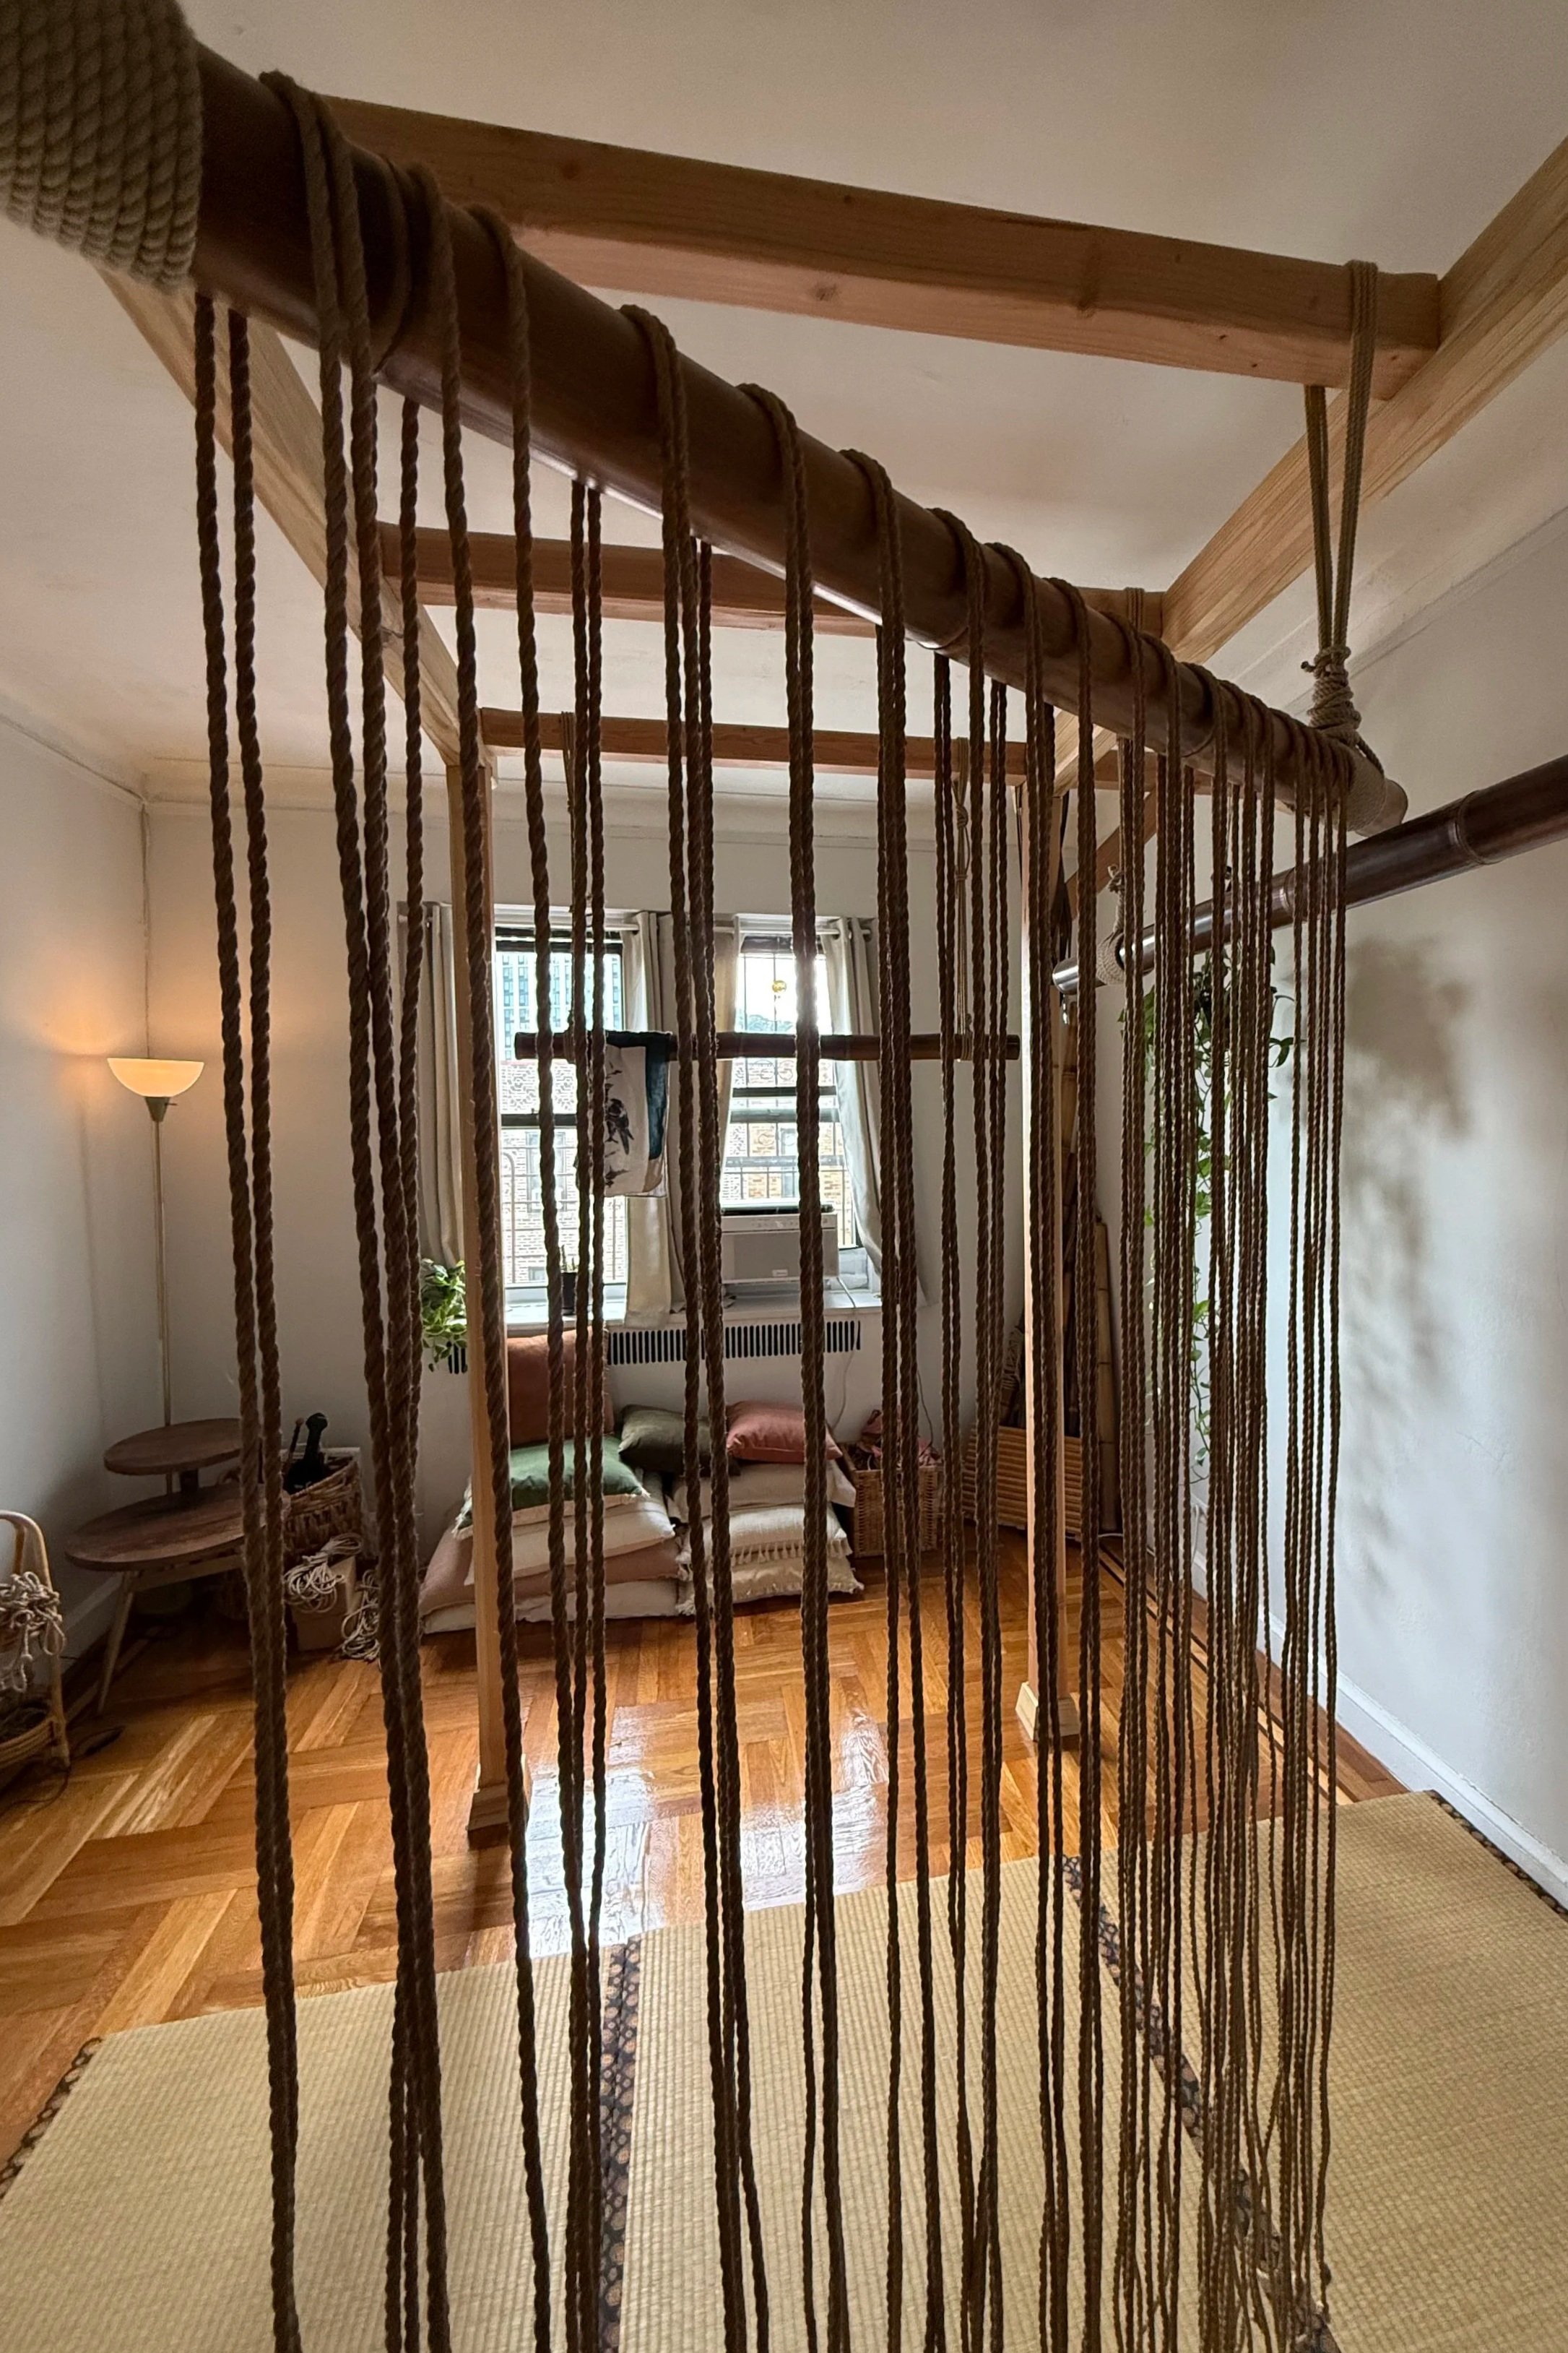
freshly conditioned rope
in the afternoon sun
if you use natural jute and have adhd like me, you probably don’t condition your rope kit as often as you should. so fair in my opinion!
a full conditioning takes a dedicated chunk of time in the same place, doing a repetitive activity that makes a mess. now, you can (read: should) probably make conditioning less of an event by frequently untwisting and oiling your rope after every few uses, but who’s got the time for that?! anyways, this morning I had some down-time after therapy and decided to condition my kit. i do the same process pretty much every time and wanted to share it here in case other folks want to incorporate any of these elements into their own conditioning methods.
step 1. detangle
set up a ring/carabiner (or any point really) that you can friction your rope off of. loop one end of the rope through the point and twist it 2-3 times around itself and then slowly friction the rope back and forth against itself. imagine it’s like you’re using the row machine at the gym without your legs. i do this frictioning slowly moving from one end of the the hank to the other. then, keeping that twist, i slowly pull one end of the hank through the point as the rope untwists itself while being pulled through the friction. when i get to the opposite end of the hank, i keep the twist and repeat the action, until i’m satisfied that the hank is detangled. this practice of frictioning the rope on itself also helps to reset any bump outs or imperfections in the lay. it also gives you an opportunity to inspect the rope slowly as you pull it to make sure there is nothing structurally wrong with it. once i complete detangling a hank, i hang it over something (pipe/hanger/door/bamboo - whatever you have), in preparation for the next step.
step 2. singe
i’ll get straight to the point: i use a butane blow torch for this part. you can get one at your local hardware store. please make sure if you’re using a torch to singe your rope, that you are doing so in a minimally flammable location and with a window open! be careful not to leave the flame on any one spot on the ropes as it’s still a natural fiber and burning a particular spot can affect the integrity of the rope for suspension. please do this step at your own risk!
once i’ve detangled all my hanks and hang them over something to maintain their slack, i turn on my torch (on low) and run it up and down each hank. you can do this a couple hanks at a time, but i try to make sure i singe the entirety of each hank. singing the rope has a few benefits: sanitizing (heat kills germs), less mess (burning off jute particles that normally end up all over you, your tying partner, and your floor), coloring (giving the rope a warmer, nuttier coloring that i personally enjoy). i singe all the hanks until i’m satisfied and enjoy the slightly burnt smell in my apartment.
step 3. oil
technically, you can oil your ropes at any time in your conditioning process, but i prefer to do so as the last step. there are many different approaches to treating jute: some people prefer just oil or beeswax, some prefer a combination. i am a bit indifferent, but i don’t like a very waxy feeling on my ropes. i get an awesome oil/wax combo from my dear friend Marcel (who also sells beautifully conditioned ogawa btw!) that i love to use. i take a microfiber cloth and i massage a scoop of that into it and then i douse it with a generous amount of jojoba oil per every few hanks. this time i added a few drops of skin-safe lavender essential oil into my jojoba oil with the hopes my ropes will have the faint smell next time i use it! i start on one end of the hank and pull it through the microfiber cloth until i get to the other end, repeating the same thing running the entire hank through the oily cloth twice. you can also gently “push” the rope while you run it through the cloth, which further pushes out twists and tangles that didn’t come out in step 1.
step 4. dry
when i’m satisfied the hank is thoroughly treated, i hang it back up for at least 24 hours to “dry” aka: the rope needs time to fully absorb the oil treatment before your next use. 24 hours is the minimum drying time for safety purposes (you don’t want oil getting all over your tying partners and their clothes, and you don’t want the rope slipping through your hands when managing uplines). i usually like to leave my rope hanging for a few days in a dry, cool area, until my next use.
like i said, i don’t do this process nearly as often as i should, but i’m always so pleased when it’s done and my rope both smells and looks its best! conditioning also helps elongate the amount of use i get out of my kit. the kit in the photograph above has been in rotation since january 2026! i will probably treat it 2-3 more times before the year is over, and then start anew in 2027.
if you try this process or have your own methods of conditioning your ropes, let me know how it goes!